Workflow Basics
Workflows are an automated representation of business processes and data integration between systems. Workflows come with the ability to extract PDFs, convert data, access file storage, etc.
Entities are the building blocks used to build your workflow. There are three types of entities seen when building a workflow:
- Triggers
- Actions
- Fragments
Designing and Configuring a Simple Workflow
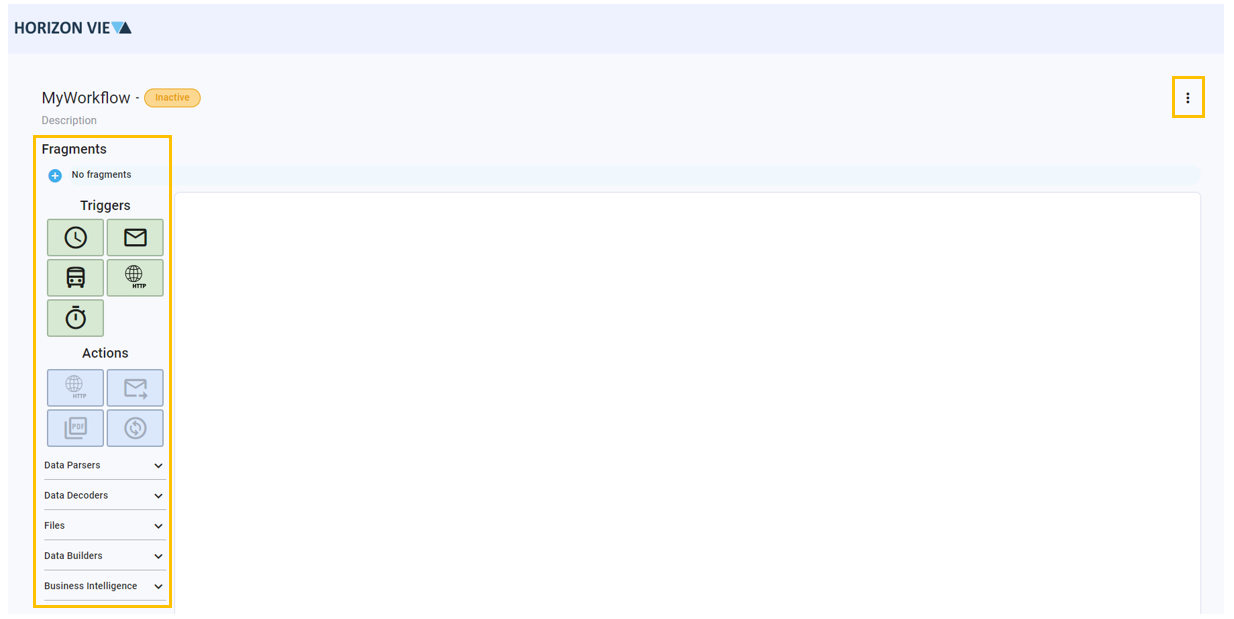
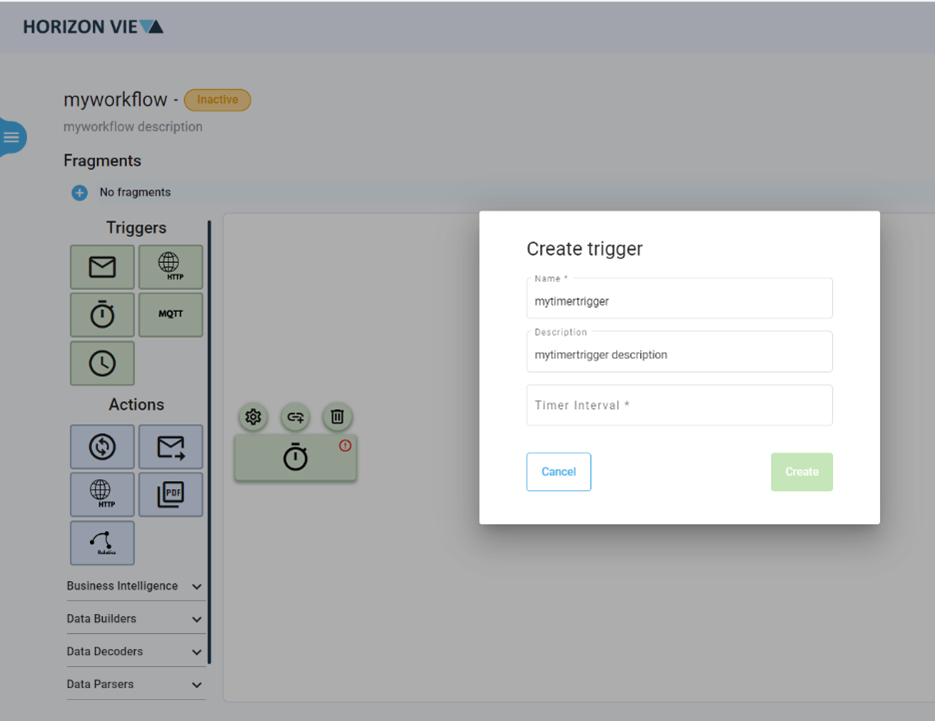
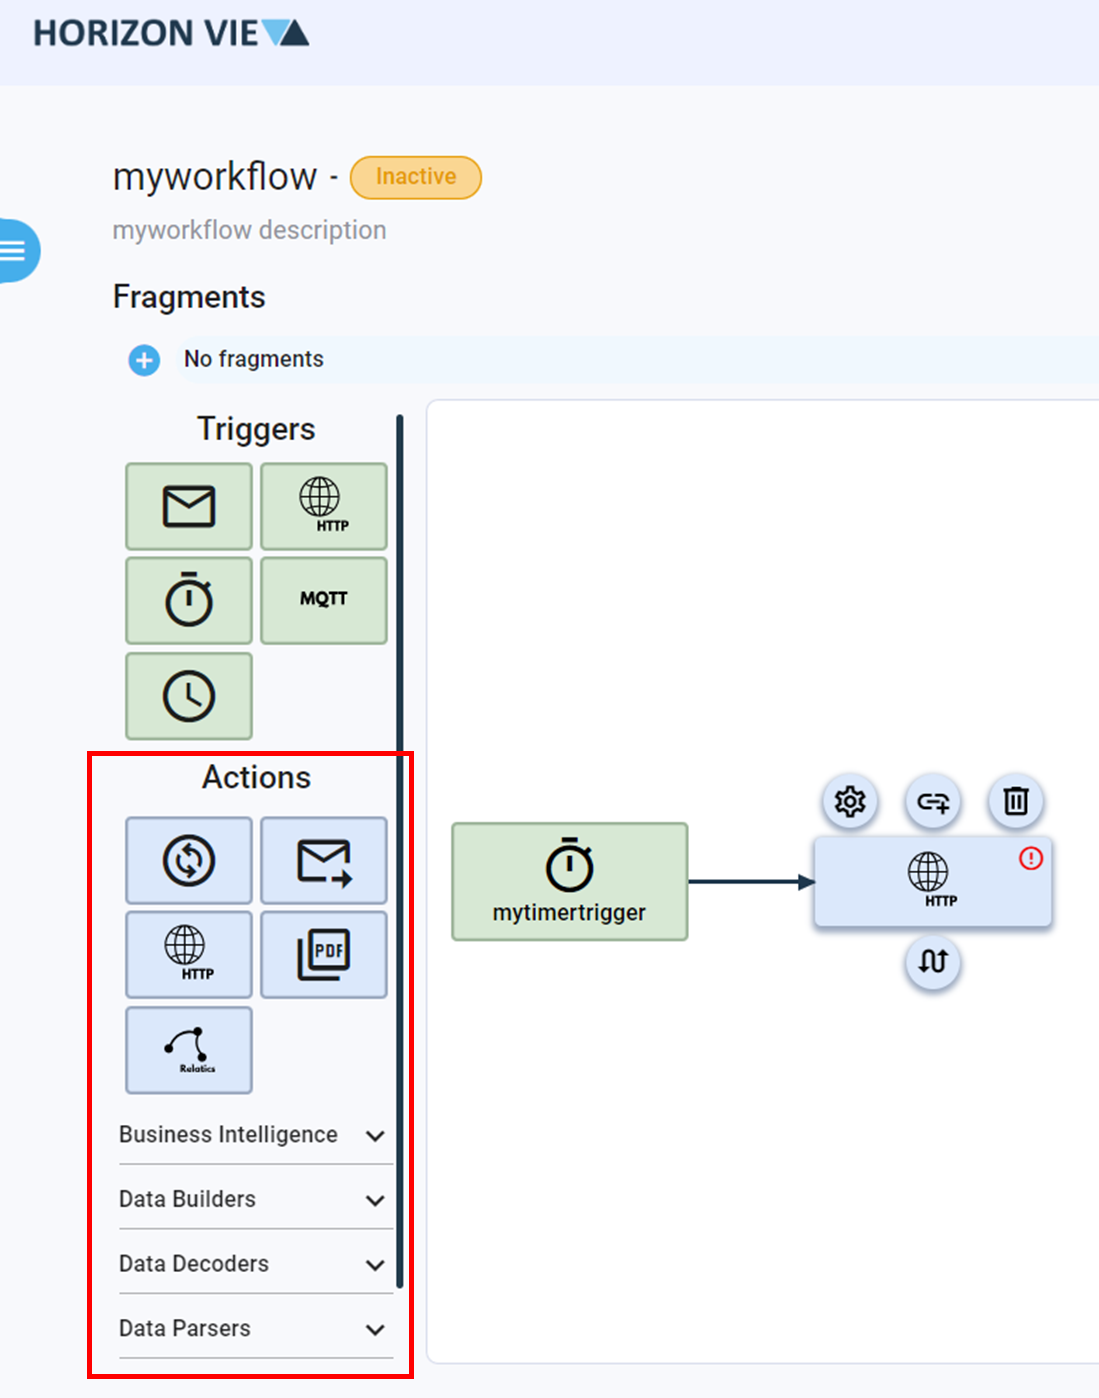
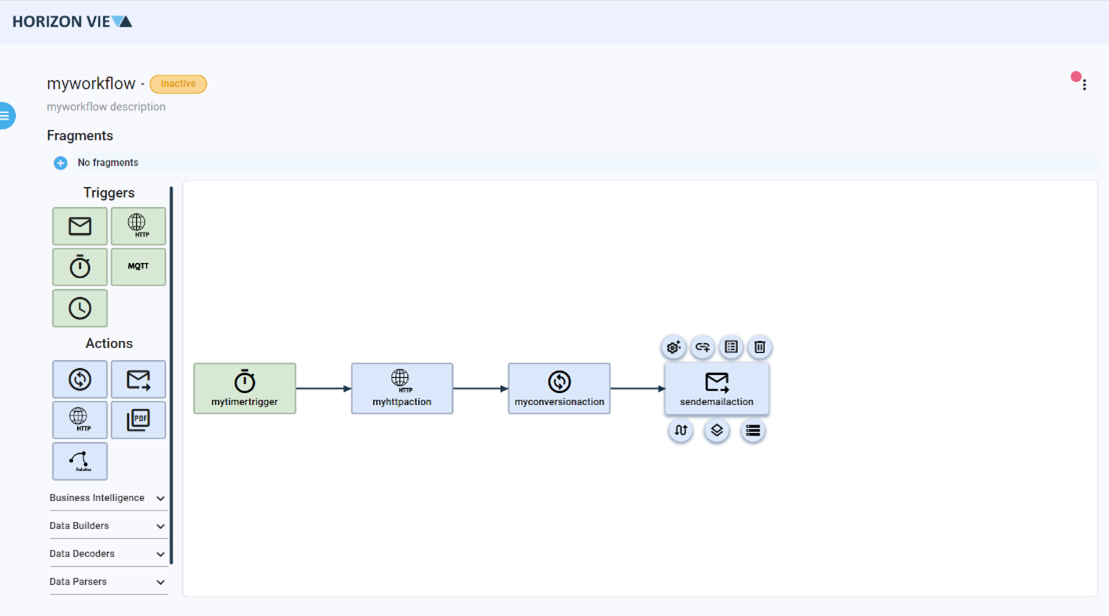
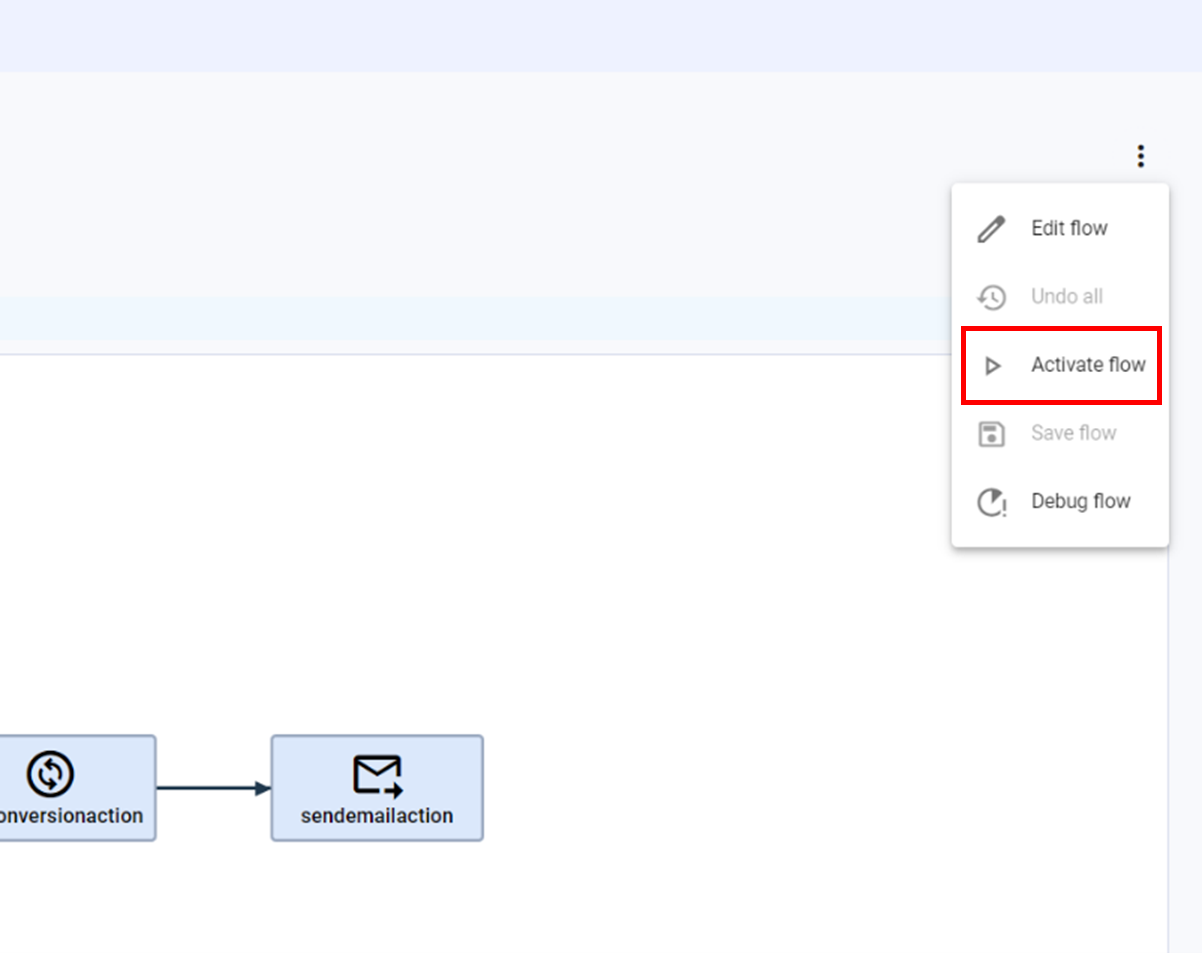
Designing a workflow is as simple as Clicking-and-Dropping entities. All entities are located on the left side of the Workflow Design Space. Every workflow must start with a trigger and are followed by actions. Once a workflow is designed, you can save your changes by clicking on the three dots on the top right corner and clicking ‘save’. This is seen in the image below.
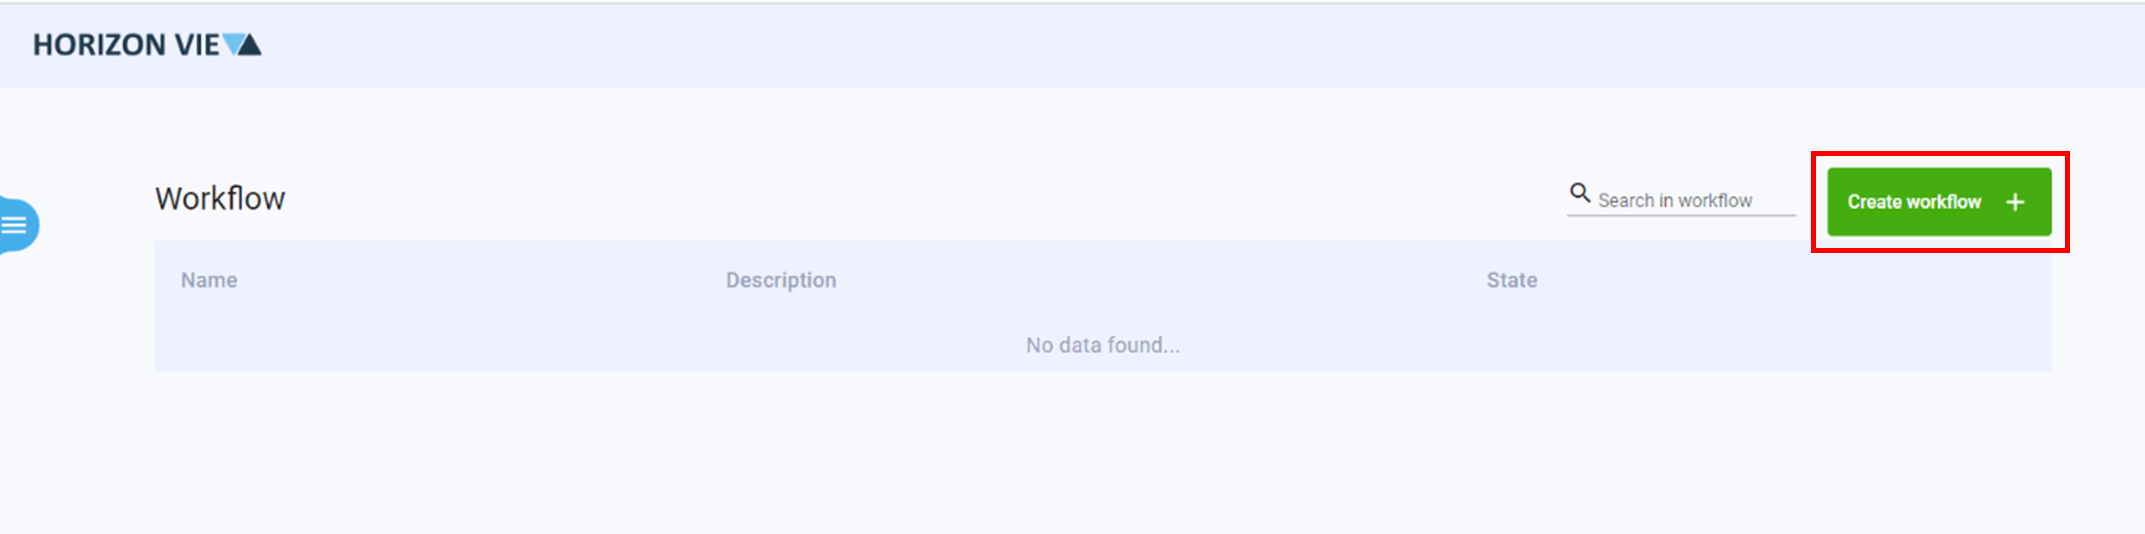
- Click on Create Workflow +
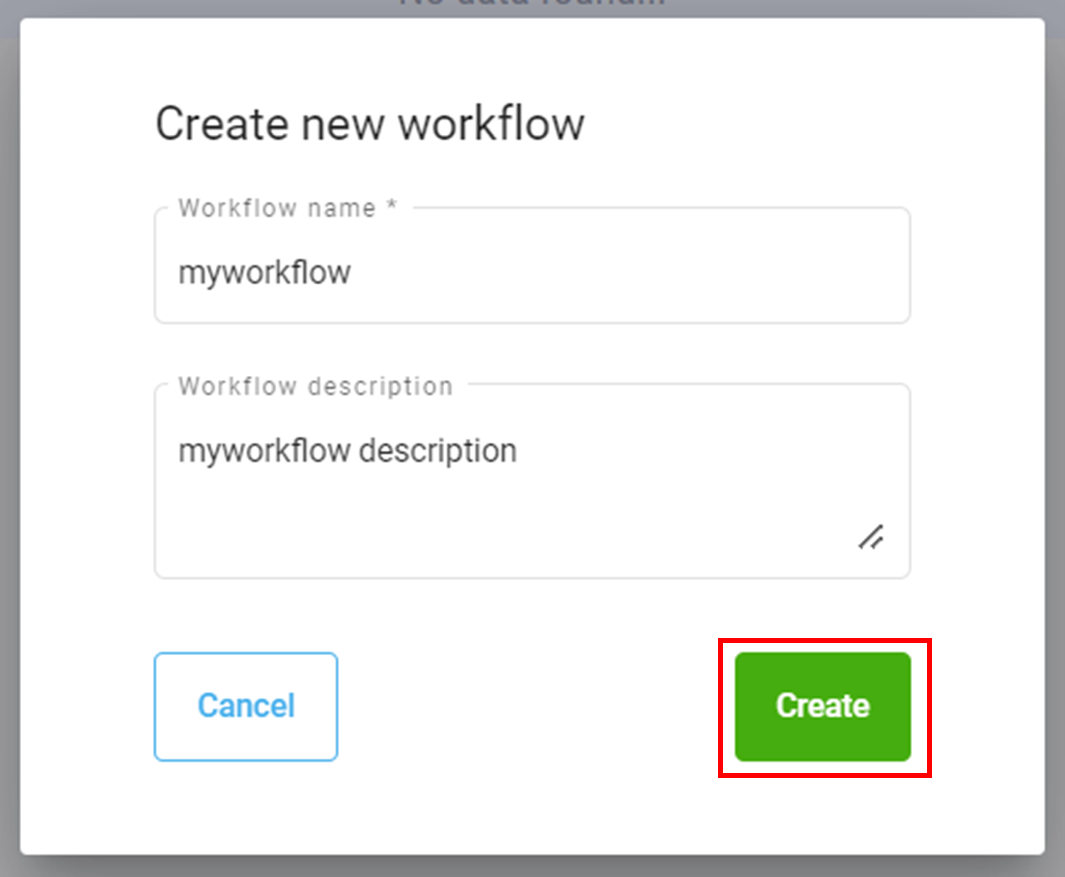
- Enter a name and description for your workflow
- Click Create
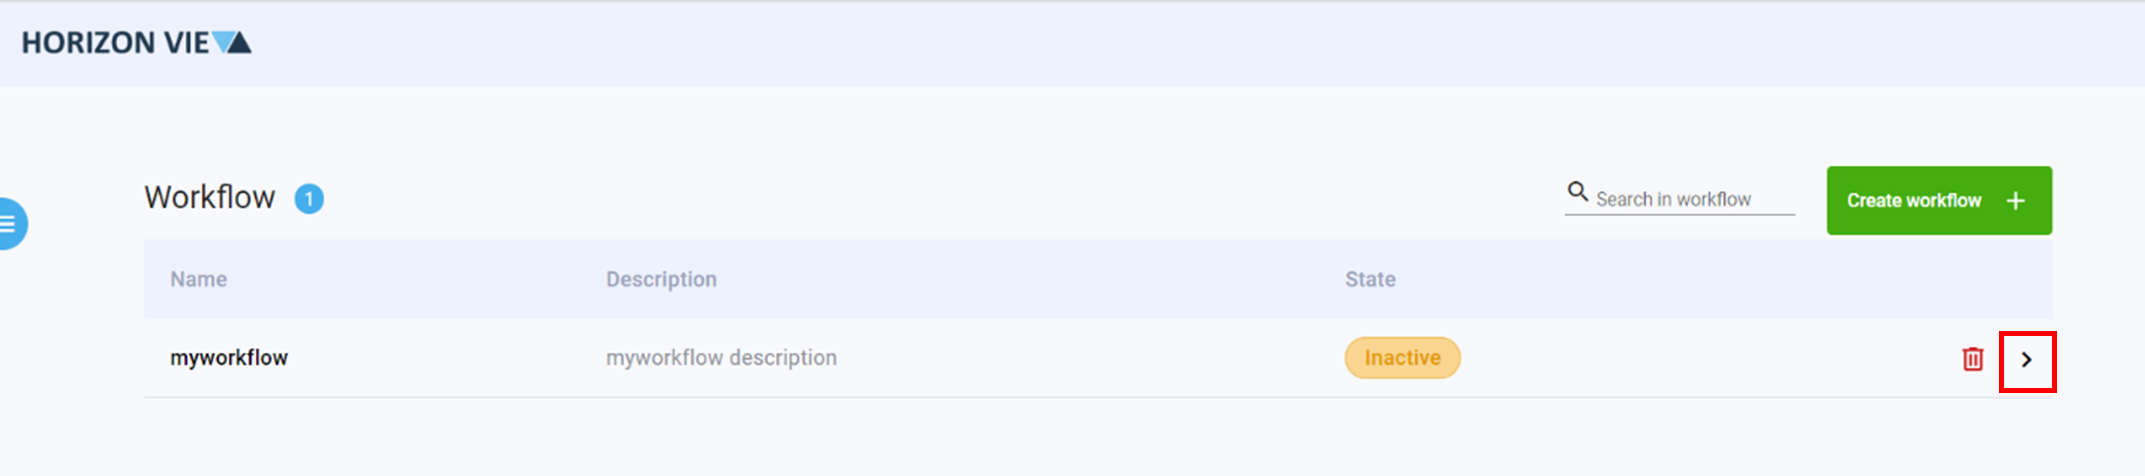
- Click on the arrow to enter the workflow design space
- Add a Trigger to begin your workflow
- Add an Action to continue your workflow [Note: Some Actions require a Fragment]
- Add additional Actions to your workflow [Note: Some Actions require a Fragment]
- Click on the three dots on the top right corner
- Click Save flow
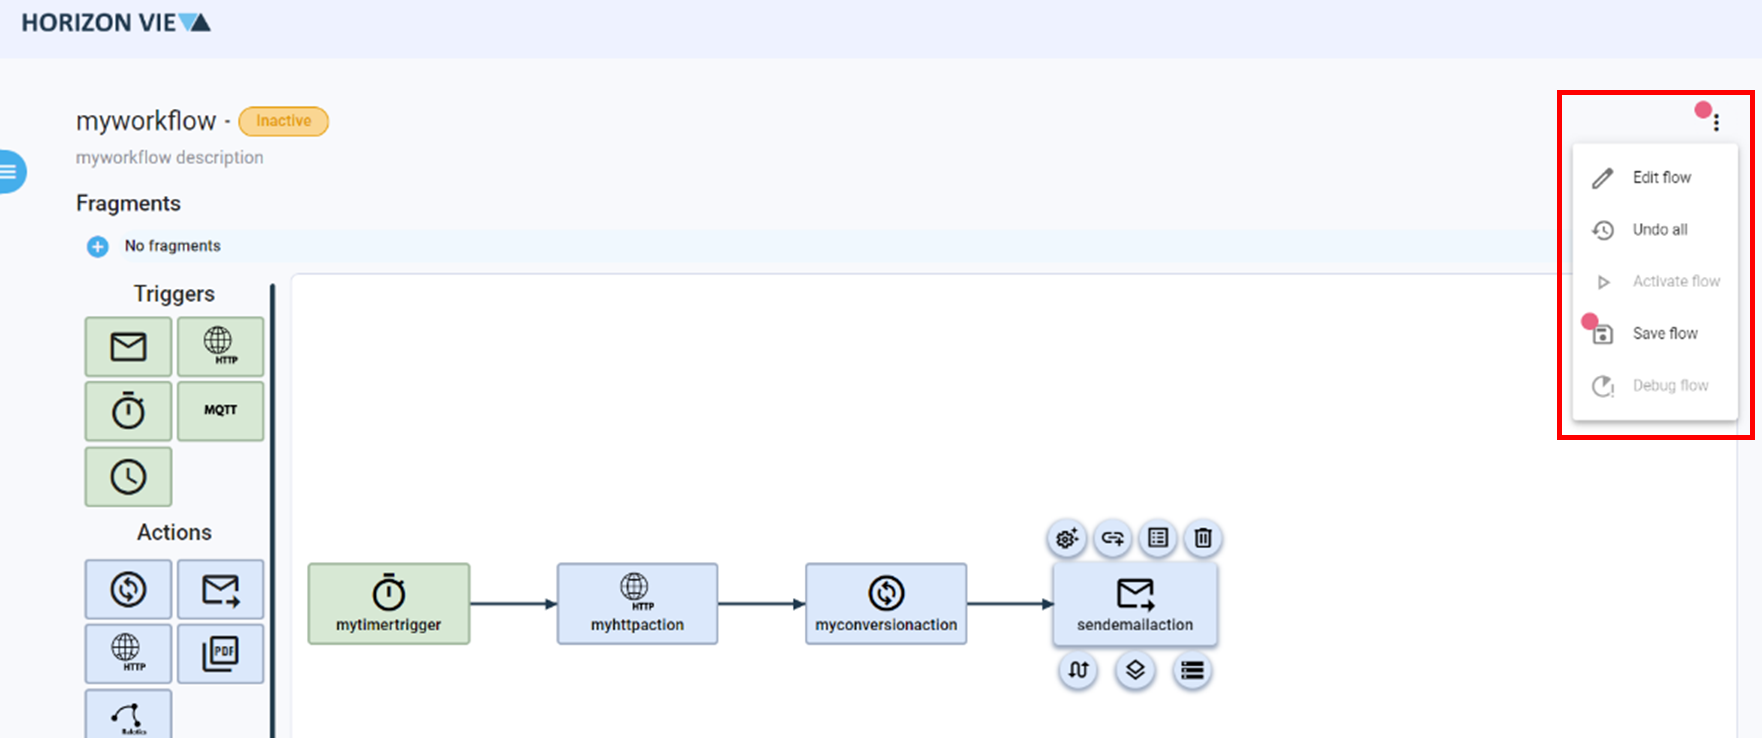
- Click on the three dots on the top right corner
- Click Activate flow to start you automated process
For more information on how to configure and manage Entities, click on the Entity Basic Page.